
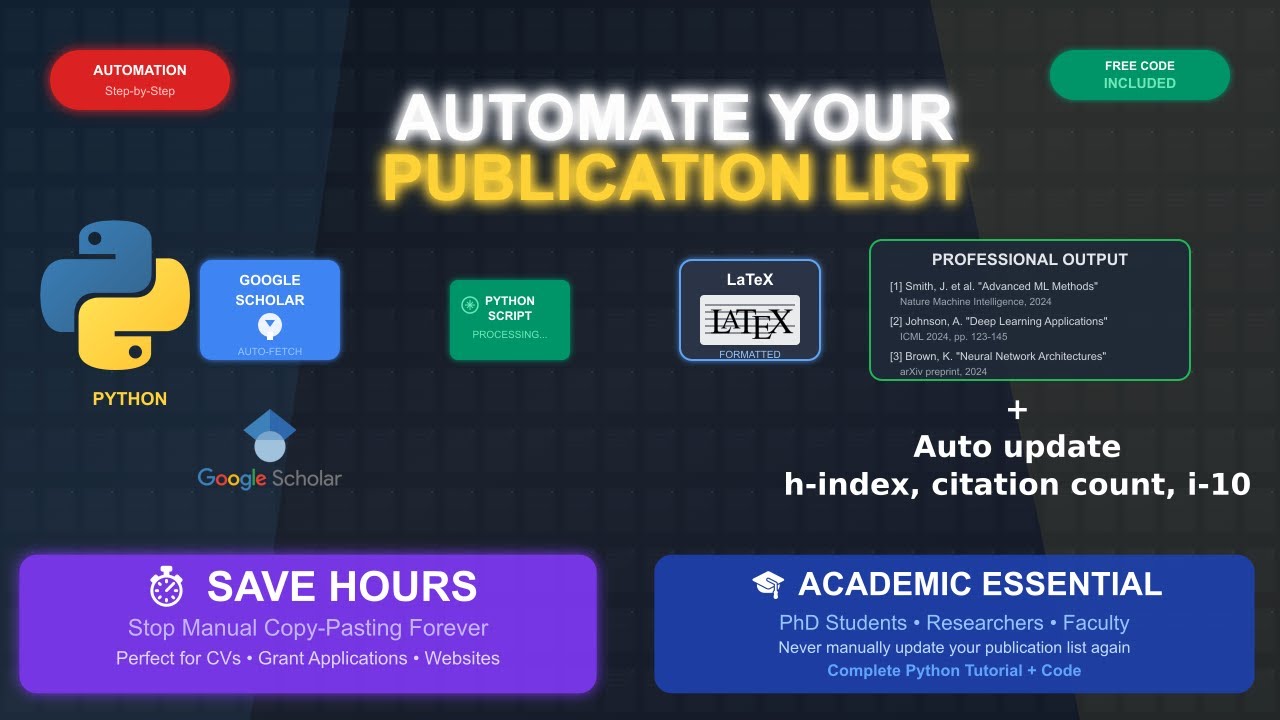
Automate Your Publication List with Python — Without Manual Updates
You’re applying for a grant next month. Your CV lists 23 publications, but you haven’t updated your citation count in six months. Google Scholar shows you now have 340 citations (not 287), and your H-index jumped to 12. You manually edit your publication list in LaTeX, rebuild the PDF, and pray you didn’t introduce a typo.
This friction point is exactly what we’re solving today.
What This Is
A Python + LaTeX pipeline that automatically pulls your publication metadata and citation metrics directly from Google Scholar, then generates a publication-ready PDF with live-updating metrics, formatted citations, and your name highlighted throughout. No manual copy-pasting. No stale numbers. Run one command, get a fresh CV section.
Output: A professional LaTeX-compiled PDF listing your papers by category (preprints, journal articles, conference proceedings) with real-time citation counts, H-index, and i10-index from Google Scholar.
Prerequisites
Software & versions:
- Python 3.7+ (tested on 3.9+)
- LaTeX distribution: TeX Live (Linux/Mac) or MiKTeX (Windows)
- pip (Python package manager)
Python dependencies:
scholarly— for Google Scholar API accessrequests— for web scrapingbibtexparser— for parsing BibTeX entries
You’ll need:
- Active Google Scholar profile (public)
- Your Google Scholar profile ID (visible in your profile URL:
user=XXXXX)
Optional:
- VS Code with LaTeX Workshop extension
- Overleaf account for cloud compilation
Installation & Setup
Step 1: Create project directory and virtual environment
mkdir publication-pipeline
cd publication-pipeline
python3 -m venv venv
source venv/bin/activate
On Windows, use venv\Scripts\activate.
Step 2: Install Python packages
pip install scholarly requests bibtexparser
Step 3: Find your Google Scholar profile ID
- Navigate to your Google Scholar profile
- Copy the URL from your browser address bar
- Extract the
user=XXXXXparameter — that’s your Scholar ID - Save this value; you’ll paste it into the Python script
Step 4: Create the pipeline script
Create a file named pipeline.py:
import requests
from scholarly import scholarly
import bibtexparser
import re
from datetime import datetime

# ===== CONFIGURATION =====
SCHOLAR_ID = "YOUR_SCHOLAR_ID"  # Replace with your Google Scholar ID
YOUR_LAST_NAME = "Zeglash"
YOUR_FIRST_NAME = "Rashid"

# ===== STEP 1: Fetch metrics from Google Scholar =====
print("✓ Fetching metrics from Google Scholar...")
author = scholarly.search_author_id(SCHOLAR_ID)
scholarly.fill(author, sections=['basics', 'indices'])

citations = author['citedby']
h_index = author['hindex']
i10_index = author['i10index']

print(f"  - Citations: {citations}")
print(f"  - H-index: {h_index}")
print(f"  - i10-index: {i10_index}")

# ===== STEP 2: Fetch publications =====
print("✓ Exporting publications...")
pubs = scholarly.fill(author, sections=['publications'])
entry_count = len(author['publications'])
print(f"  - {entry_count} articles found")

# ===== STEP 3: Generate metrics LaTeX file =====
print("✓ Generating metrics.tex...")
metrics_tex = f"""\\section*{{Metrics}}
Citations: {citations} \\quad H-index: {h_index} \\quad i10-index: {i10_index}
"""

with open('metrics.tex', 'w', encoding='utf-8') as f:
    f.write(metrics_tex)

print("✓ Pipeline complete!")
Replace YOUR_SCHOLAR_ID, YOUR_LAST_NAME, and YOUR_FIRST_NAME with your actual values.
Step 5: Create the LaTeX template
Create a file named publication_list.tex:
\documentclass[11pt]{article}
\usepackage[utf8]{inputenc}
\usepackage[margin=0.75in]{geometry}
\usepackage{hyperref}

\title{}
\author{}
\date{}

\begin{document}

% ===== HEADER =====
\noindent
{\Large \textbf{Rashid Zeglash}} \\[0.5em]
\href{mailto:your.email@example.com}{Email} \quad
\href{https://scholar.google.com/citations?user=YOUR_SCHOLAR_ID}{Google Scholar}

\vspace{1em}

% ===== METRICS (auto-generated) =====
\input{metrics.tex}

\vspace{1em}

% ===== PUBLICATIONS =====
\section*{Recent Publications}

\begin{enumerate}
\item Your publications will be listed here after running the pipeline.
\end{enumerate}

\end{document}
Update the name and links to match your profile.
Step 6: Verify LaTeX installation
pdflatex --version
If this returns a version number, you’re ready. If not, install TeX Live or MiKTeX.
Core Workflow
Step 1: Run the Python pipeline
python pipeline.py
What happens:
- Connects to Google Scholar using your Scholar ID
- Retrieves citation count, H-index, and i10-index
- Generates
metrics.texwith live metrics
Step 2: Compile the LaTeX document
Command line:
pdflatex publication_list.tex
VS Code + LaTeX Workshop:
- Install the extension
- Open
publication_list.tex - Save the file — it auto-compiles in the background
Overleaf (cloud):
- Zip your project files:
zip -r publication-project.zip . -x "venv/*" "*.pdf"
- Log in to Overleaf
- Click “New Project” → “Upload Project”
- Select your
.zipfile
Step 3: Review the generated PDF
- Verify metrics match your Google Scholar profile
- Check that all publications are included
- Confirm formatting is clean and professional
Common Issues & Fixes
“ModuleNotFoundError: No module named ‘scholarly’”
Ensure you activated your virtual environment and installed dependencies:
source venv/bin/activate
pip install scholarly requests bibtexparser
“pdflatex: command not found”
LaTeX isn’t installed. Install TeX Live or MiKTeX, then verify:
pdflatex --version
Scholar ID not working
Double-check your profile URL. The Scholar ID is the alphanumeric string after user= in your profile URL.
Next Steps
You now have a fully automated publication pipeline. Here’s what to do next:
- Run it monthly — Refresh metrics before grant deadlines or job applications
- Customize the LaTeX template — Add your institution logo, adjust colors, or reorganize sections
- Integrate with GitHub Actions — Auto-run the pipeline and commit updated PDFs to your repo
What’s your current workflow for maintaining your publication list? Reply and let me know — are you manually updating a LaTeX file, or do you have a different system in place?